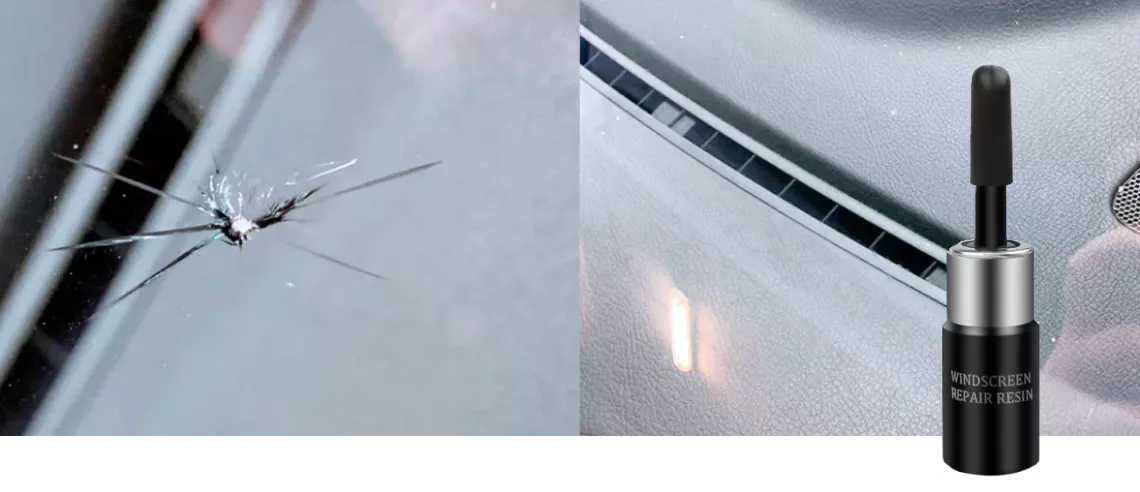
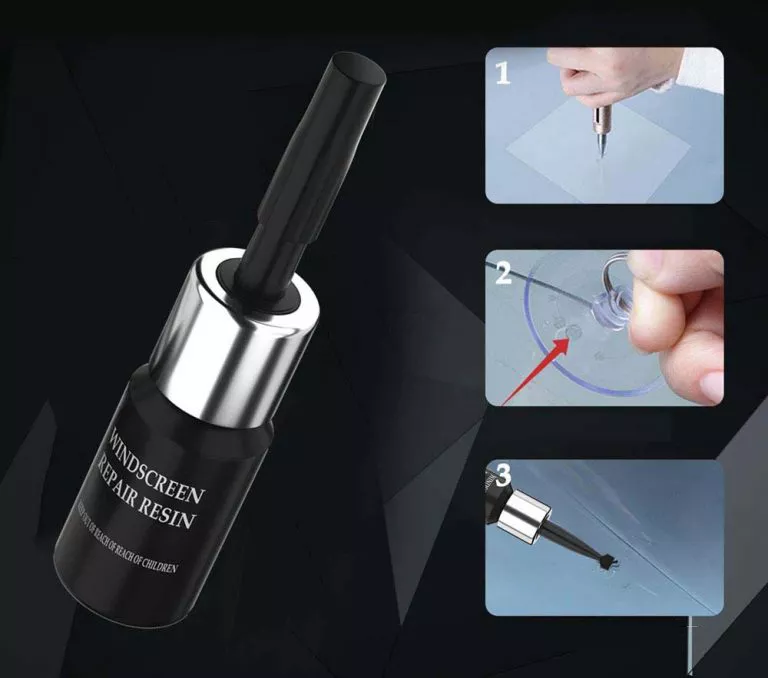
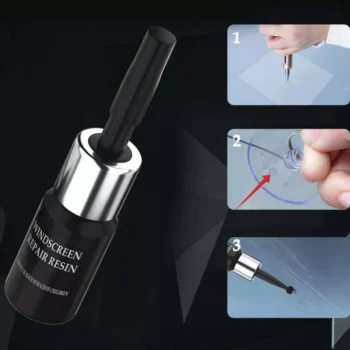
2. Screw open the resin applicator and use the head to apply the resin into
the center of the glass crack.
3. Paste one sheet of curing strip over the crack spot, ensuring no gaps
or air bubbles.
4. Let the application dry under sunlight for about 20-30 minutes.
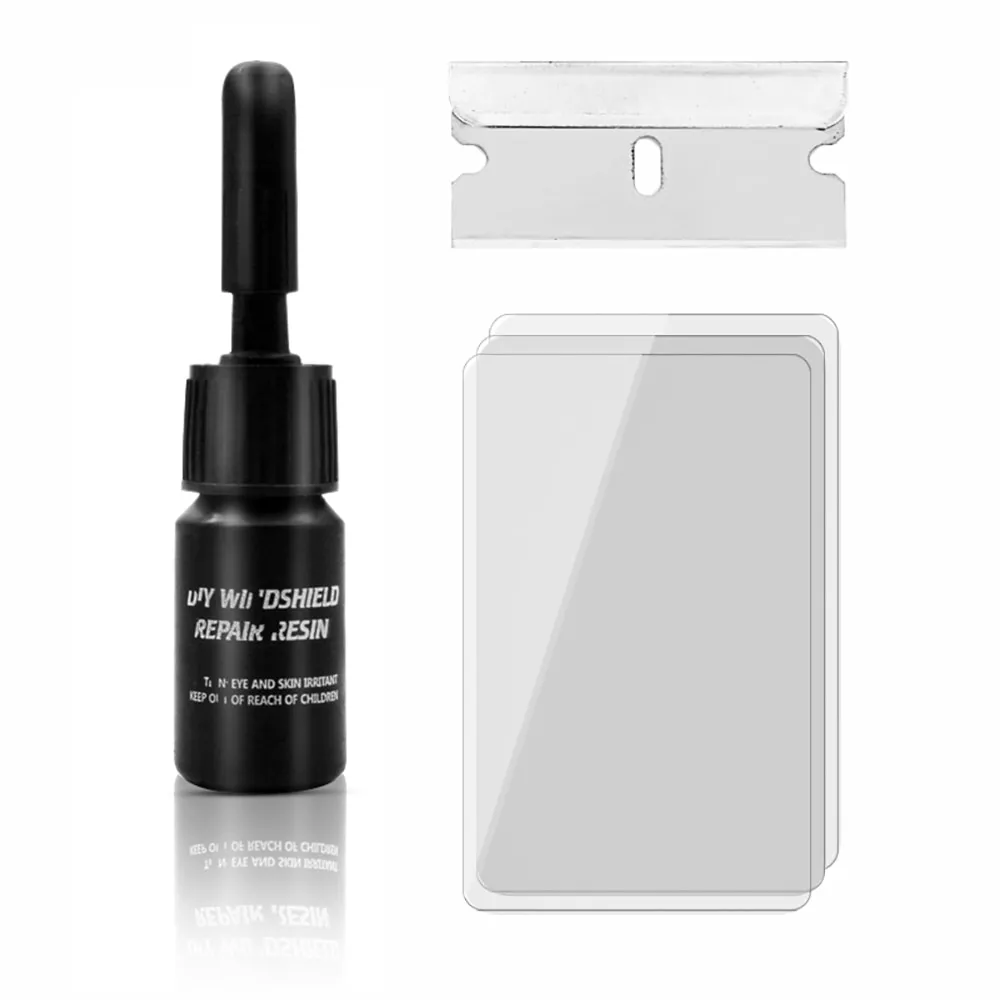
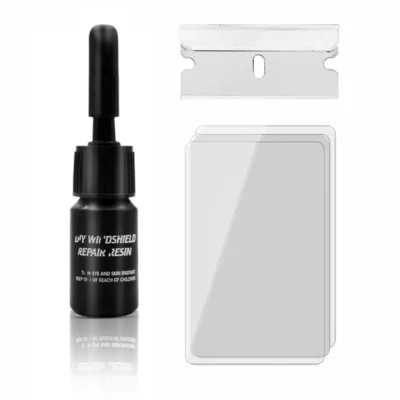
5. Your crack should be healed. You can use the included razor blade to remove any residual dry resin. If your crack hasn’t healed, you may repeat this process.
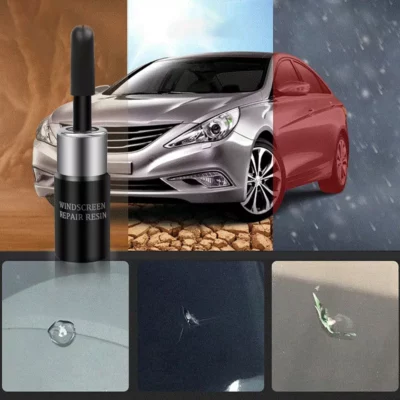
For every “oops” and “ugh”
on the road
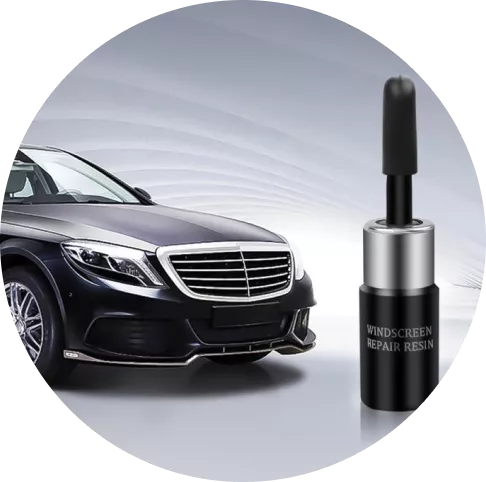
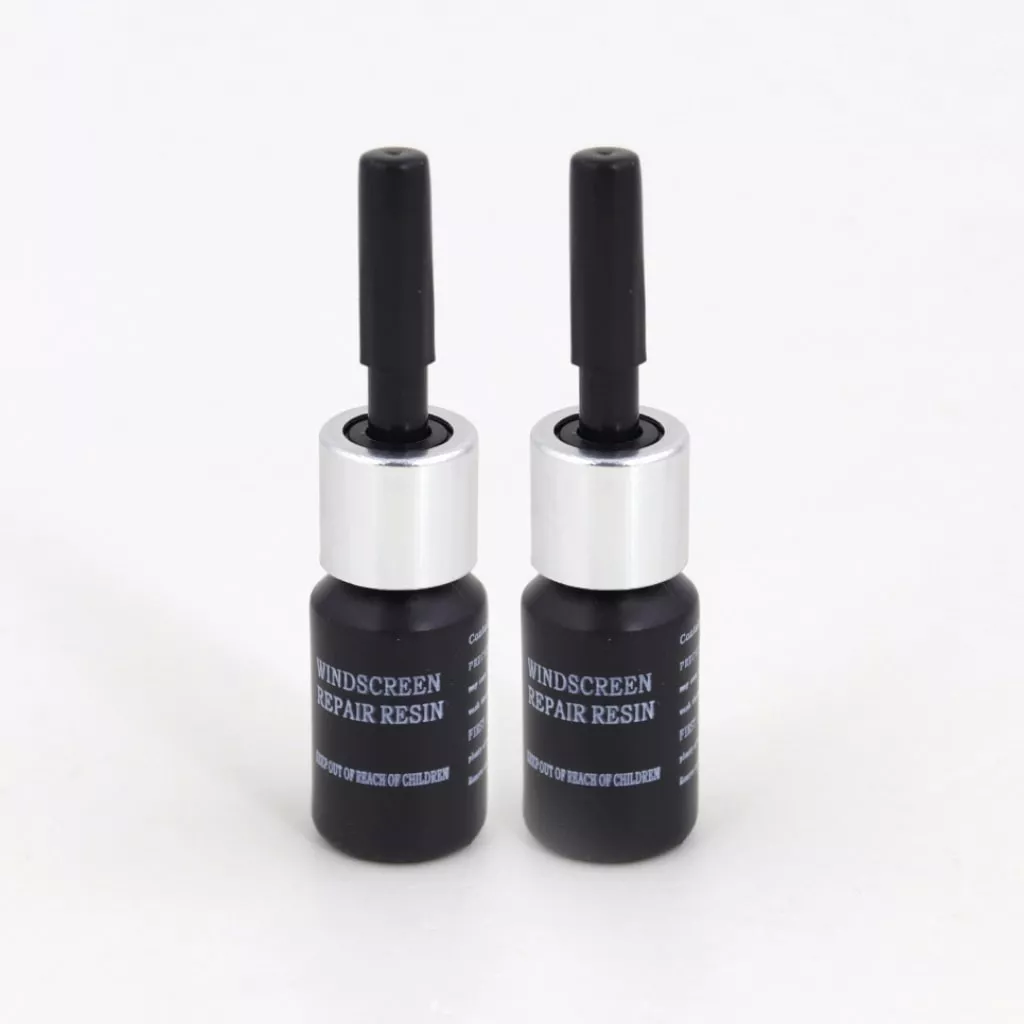
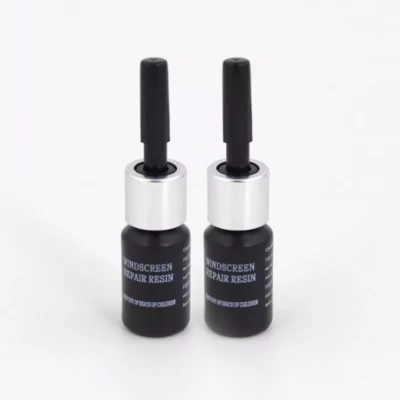
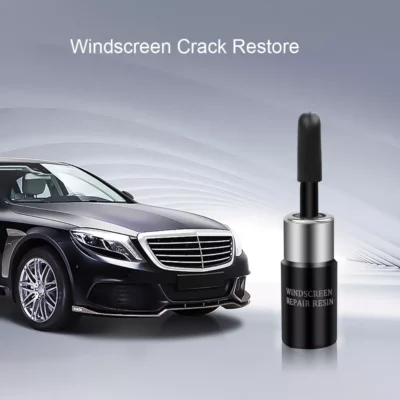
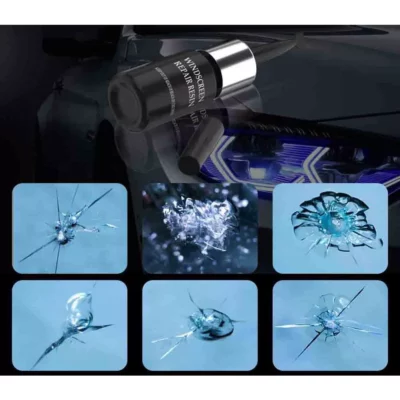
Repair Liquid dimensions: 2.75 x 0.4 inches.
Weight: 0.2 oz.

4 GREAT REASONS TO BUY FROM US:
- Over 37,000 happy customers worldwide
- Real people on our support team ready to help
- We proudly offer a full satisfaction guarantee. Our highest priority is to make you happy, so every order comes with a 60-day money back guarantee!
- 100% Safety & Security Guaranteed. At neogearstore.com, we take your security and privacy very seriously. Shop safely using the world’s most popular and trustworthy payment methods!

BUY WITH CONFIDENCE:
We truly believe in the best customer support, meaning we will do whatever it takes to make sure you have a positive purchase experience. We respond to emails within 24 hours and always make sure all your concerns are answered ASAP.
- Easy Returns. All our products are backed with 30-day money back guarantee. Just contact us and we will refund the purchase price.
- Risk-Free Purchase: Our Buyer Protection covers your purchase from click to delivery so you can shop with peace of mind.
- 100% Satisfaction Guarantee: All our products are backed with 60-day money back guarantee. If for any reason you’re not completely satisfied with your purchase, contact us for a product refund. We’ll be more than happy to assist you.







K***n
Didnt work that well. I’ve had the phone screen glass damaged – but that resin just got under the protective screen and on the phone display. Guess you can’t use it directly on electronics.
M***n
I fixed rock chips in my car windshield. Lots of resin left for future use. Very easy to use.
S***n
Very easy to use and works good
W***m
It was an awesome DIY fix. My wife couldn’t find the chip on the windshield after application.
E***n
I didn’t think it would work this great! I’ve had this bullseye for about year thinking the only way to fix it was by replacing the windshield altogether. The only issue I had with this kit was the suction cup thing, it kept lifting while the resin chamber was screwed in.
J***y
Exceeded expectations. I was pretty skeptical, but boo-bow it worked amazing. Bullseye crack is pretty much invisible now. I wonder if it can fill the hole in my heart.
S***r
The repair liquid fixed my windshield and I am satisfied.
F***o
Worked very well on a rock chip. First application didn’t penetrate completely but after adding a few more drops (per instructions) to applicator, the chip filled completely. The tiny blemish that remained was so minor that I didn’t bother applying any more resin to the surface as suggested in the last step of the instructions.
D***n
I’ve used this product multiple times always with great success. I just fixed a star ding that was almost 1 inch wide. See attached picture of before and after. You can barely see it after using this to fix it! Buy one or two to have on hand when you need it.
K***n
I bought this kit after finding a crack in my windshield. It was very easy to use. Although from the inside you can still see some of the cracks my main focus was that it doesn’t spread.
A****e
Works ok. No miracles, only glued the small scratches.
A***r
This is a great product for the money. Saved me a lot of money by fixing the windshield instead of replacing it.
E***n
Got hit by a bouncy ball sized rock, which left cracks on my car. This kit fixed it well enough that it doesn’t draw my attention. The repair has lasted and looks good enough
A***y
A fix it glass place said they couldn’t fix my cracked windshield but this product worked better than I thought, so no need to buy a new glass
A***s
This always fixes the little cracks and dings on my windshield. I’ve found that you want to keep an eye on them after 9-12 months. Had to refill one of mine that started cracking after a year. It’s very easy to use and usually you won’t use a full tube in one go.
J***n
My damage was minor and although I feel the repair wasn’t 100% perfect, it did help reduce the damage and kept the window from cracking further. I would buy this again.
P***r
The product was very easy to use. I bought it for a unique application just to see if it would work on repairing some cracks in my stain glass on my front door and it really works!
S***r
Great product! Fixed my star chip easily and it’s hardly noticeable. Someone one here mentioned that it now looks like a small hair is on the windshield. I would say that’s pretty accurate. Unless you look for the chip, you will never see it. I used my finger in the photo to show where it was since it was hard to find it with my camera.
A***n
I successfully repaired a small chip on my windshield with this repair kit. The instructions were easy to follow and the kit includes everything that you need. The end result was really good, as if the chip never happened. I am not sure if I had a big crack whether this product would work as good. I’d recommend it to anyone that is willing to undertake a do-it-yourself small project and can follow simple directions.
F***e
I recently had a chip in my windshield and decided to try this product out. The directions were somewhat confusing, but it helped out somewhat, and the chip looks better, but not perfect.
A****e
Good product for small cracks or dents in the windshield.
I***n
I had an 8″ long crack in my year-old car’s windshield. I followed directions and this product worked pretty good. No one would know there’s a crack there, except for me. It’s more like a hair laying across the windshield now. Hope it holds up for a while. Before and after photos.
Worked for me.
V***r
I live in Washington State, the roads are really bad, rocks chip windshields left and right, from motorists who don’t have mud flaps.
At first, I didn’t think this would work but……….Let me show you with images, and no I am not being paid by anyone to do this. I stand by a product when it works. Took 3 times, make sure that you find the pin hole of the crack.
My case was “bullseye” effect.
R***r
Kit was easy to use having read the directions first. I could probably have achieved even better results repeating steps 4 and 5 a third time on my bullseye type windshield damage but it didn’t appear necessary during the resin application step at the time. Overall I’m impressed with the results and would purchase this kit again.
This kit is a really easy repair.
For a first attempt, I’m really impressed with the ease of use, results, and cost.
J***k
The cracks look much better after the repair. At first I wondered why the apparatus was necessary and it looked complicated. It’s not too bad and I realize why it is necessary now. One crack is hardly visible. This is way cheaper than taking it to a windshield glass repair place. I suspect it should hold up fine, but will update my review if not.
D***l
I bought a cheap car with a few bulls-eye and star chips in the windshield and didn’t feel like shelling out $50 ea for professional repair. Actually, the company’s limit is 3 chips, which my windshield exceeded. I initially bought a chip repair kit from a different supplier, but it was a one-time deal due to the use of an adhesive for the applicator. In fact, I was able to fill 5 chips, making this essentially $2 per chip. More importantly, it fills the chips much better than the competitor and is quicker and easier to use.
O***r
I had never used this, I regret that now, I am 95% happy with my repair, 100% with the product, follow the good instructions, thirty minutes tops and your damage is virtually invisible, I had a rock chip smaller than a dime, by the time I completed my trip it was slightly larger than a quarter star pattern, it is only visible to me because I know where it is, the center could take a bit more resin and I may not find it, the visible area is about the size of a dull pencil head, by the way, no measuring necessary. Five stars is right.
N***l
As a woman I did it! Actually it’s hard to find the star now. Though the star was small and small cracks are still there( you can see from the shadow in the picture)
Suggestion: 1.clean the place very carefully, leaving no small pieces.
2. Let out all the air bubbles.
3. Work on a fine sunny day!
R***r
I cracked the back of my iPhone 8, there was a network white cracks like a spider-web on about 75% of the back. I used the “Crack Repair” method in the instructions and was able to fill everything. The cracks are still visible in a ghost-like way but it sealed every shard in and diminished the white crack look significantly. I am happy with the results. I recommend doing a couple of passes (three for me) and curing it in the sun for a while. I also used the rest of bottle on a cracked iPad screen, was able to smooth it over as well and the touch screen still works as intended. I didn’t scrape off the excess with the razor given, I simply removed with my fingers as a safer alternative.
C***s
Chips on windshields happen. This is a great way to stop a chip from during into a crack. Easy to use and works the way it should. You don’t have to spend a lot of money if you have a little patience. If you get a chip in the windshield and can’t get it repaired immediately, clean and dry off the chip. Use heavy duty clear packing tape to cover the chip and protect it from the elements. What causes cracks in the windshield is often the moisture reacting to the interior temperature and the outside temperature. Water expands when it freezes. That will crack windows in little time.
J***n
Cracked screen in my Lexus, very expensive to replace so thought I would try this.
It worked!
Some of the crack could still be seen after the repair, but over a week this has actually dissapeared, so looks like it keeps working for a couple of days after use.
Very pleased with the results.
T***s
The product worked great! However, it will be important that you set reasonable expectations. If you go into this thinking that it’s going to look like nothing ever happened to your windshield, you may be disappointed. The goal is to prevent the damage from spreading and touch up the cosmetic appearance of the glass. From the outside of my windshield, all you can see are the chips where the rock made impact. From the inside (pictured), you can only notice there was a crack there if you’re looking for it. Best way I can describe this product is like touch up paint. Repair looks like covered up scratches, but clear. Works just fine if you follow the instructions, have patience, and don’t get cocky in the process. Chances are, if you’re like me, you’ve never done this repair before. So, be realistic in your approach, and you’ll come out of the whole 20-30 minute process satisfied with the results.
P***a
This simple kit saved me purchasing a replacement windshield. As usual a stone kicked up from a vehicle in front of me, causing a small star-shaped cavity in my windshield. It did not however result in crack lines extending beyond the center of the impact.
After about 1/2 hour of effort (most of it just waiting) my windshield is much improved, good enough that I basically don’t see the “dit” unless I stare right at it. The little impact zone has the appearance of a tiny circular smudge on the outside of the glass, the internal spider of broken material is now visually gone.
The process is easy and works well if you follow the clear instructions.
I’m saving my insurance for the really big events (no hurry on that one!).
R***a
This was my first attempt at chip repair. Admittedly it took me a bit longer than it should have to get the technique correct, but eventually I got there. If you think that you are going to be able to make a chip disappear completely with a $10 DIY repair kit, you are delusional. It does however make the chip much less noticeable, and it filled the chip completely. I performed the repair 6 months ago on a bulls-eye/star chip , and it is still holding strong with out spreading or cracking any further. I am about to buy another kit for one of our work trucks. I would definitely recommend this kit if you are patient, can follow directions, and observe what is happening and not happening and make the necessary adjustments to get the results for which you are looking. It’s definitely not rocket science, but common sense is a requirement.
S***s
My windshield had been hit by a rock going around 85mph. It left a small chip that ended up turning into a crack that ran for about half an inch either way from the chip. That meant I had a small crack (approximately 1″ long) and a small chip to boot. I read the reviews on this product and I was scared that I would either screw it up or it wouldn’t be perfect. Honestly, I couldn’t have asked for better results. The crack is invisible now, unless you REALLY try to find it, and the chip is completely gone. I did as the instructions said, applied the product in the shade and moved my car into the sun. It took me about 5 minutes of real work and about half an hour of not paying attention to make my windshield crack disappear.
I’d recommend this product to anyone who has small cracks. It yielded unbelievable results.
B***k
-Inexpensive! Great product to keep in your garage for quick repairs.
-Simple method.
-All tools included, along with detailed instructions that include photos.
-Plenty of resin for performing 5+ repairs, potentially more than ten.
-Resin cures only when exposed to UV light (e.g. sunlight), so is easy to work with and clean up.
-The kit is able to inject resin deep into most cracks, displacing air bubbles and restoring the look of the glass.
M***n
Amazing product! I don’t think I’m ever going to Safelite Autoglass again for chip repair!
The product does need about 10minutes in FULL SUN to cure (i.e., harden) the product and form the permanent bond to the glass.
I fixed 2 star chips, and further patched another 3 “pock marks” in the windshield
Hints:
* Warm the glass by turning on you defogger on heat
* use the razor, or tip of a small file to pick out the compacted glass at the center of the impact
* Product needs time to diffuse into the crack under pressure
* make sure there are no air bubbles when you apply the curing strip
* Give a full 10min (or more) before you try to scrape the product off
* when scraping, use a “squeegee” motion with the razor at 90-degrees to the windshield. It should take multiple passes to scrape the product down to a finished level (multiple, like several dozen passes scraping)
GOOD LUCK!
V***r
The instructions are daunting at a glance but you can break it down to these steps:
Clean you window of foreign debris
Force the resin into the crack/chip with the applicator (IN THE SHADE) (even if you make a mess by overfilling, it’s OK)
Let the resin cure with the cure strip
Peel off curing sheet and scrape the glass with the blade perpendicular to the glass
Done!
S***a
I used this kit recently to repair a crack in my windshield about 1/2 inch long. The instructions are pretty simple to follow.
One trick they tell you in the instructions is to heat the windshield from the inside with a hair dryer in order to get the resin to flow into the crack better. That helped a lot. Once you can see the crack is totally filled in, you remove the tool, put one drop on the hole, place a clear plastic piece over it and put your car in the sun for 15 minutes (or 1 hour if it’s overcast) and the UV light will cure the resin. Finally remove the plastic and scrape away the excess from your windshield using the enclosed razor blade.
My crack was tiny and I almost can’t even see it any longer. This kit really does the job and can be used multiple times until you run out of the resin solution.